
- Key Takeaways
- Why Mixed-Material Repairs Need Extra Planning
- Start With the Project Conditions
- Match the Adhesive to the Materials
- Wood and Masonry
- Metal and Wood
- Tile, Concrete, and Stone
- Fiberglass and Other Smooth Surfaces
- Check the Outdoor Exposure Level
- Surface Preparation Makes the Difference
- A Simple Preparation Checklist
- How to Apply Construction Adhesive Correctly
- When to Use Mechanical Fasteners as Well
- Common Outdoor Adhesive Mistakes
- How Temperature, Moisture, and Testing Affect Results
- Frequently Asked Questions
- Can construction adhesive be used on wet surfaces?
- Does more adhesive create a stronger bond?
- How long should an outdoor repair stay supported?
- Can adhesive replace screws or bolts?
- What is the best adhesive for every outdoor repair?
- Final Decision Checklist
- Conclusion
Key Takeaways
- Match the adhesive to the exact materials, exposure level, load, and expected movement.
- Prepare surfaces carefully by removing weak material, dirt, grease, rust, and loose coatings.
- Choose a flexible, outdoor-rated formula when materials will expand, contract, or vibrate differently.
- Use clamps, tape, blocks, or bracing to hold parts in place while the bond develops.
- Do not rely on adhesive alone for load-bearing, overhead, or safety-related connections.
- Test an unfamiliar material or coating before committing to a large repair.
Outdoor repairs often join materials that behave very differently, including wood, metal, brick, tile, concrete, stone, and fiberglass. Choosing the right product starts with the materials, weather exposure, joint load and the amount of movement the repair will experience. A product such as f-26 construction adhesive may suit many mixed-material projects, but the product directions and project requirements should always guide the final choice.
A durable bond depends on more than the adhesive in the tube. Cleanliness, surface condition, fit, pressure, support, and cure time all influence whether an outdoor repair remains secure through changing weather.
Why Mixed-Material Repairs Need Extra Planning
Different materials have different surface textures, moisture behavior, and rates of expansion. Wood can absorb moisture and swell, while metal changes size with temperature. Masonry may look solid while its surface is dusty, chalky, or cracked. Smooth materials such as fiberglass may provide little surface texture for an adhesive to grip.
For example, attaching wood trim to an exterior masonry wall requires a product that can bond dissimilar surfaces and tolerate small gaps. It also requires a stable masonry face. Adhesive applied over loose mortar dust or flaking paint may bond to the weak layer instead of the wall itself.
Start With the Project Conditions
Before buying adhesive, answer a few practical questions:
- Which two materials are being joined?
- Will the repair be sheltered, or fully exposed to rain, sun, heat, and freezing conditions?
- Is the part decorative, lightly loaded, or supporting significant weight?
- Will either material flex, vibrate, expand, or contract?
- How long can the parts remain supported and protected during curing?
Match the Adhesive to the Materials
Wood and Masonry
Wood and masonry often benefit from a gap-filling adhesive because neither surface is perfectly flat. Remove dust, weak mortar, and deteriorated wood fibers first. If the wall is crumbling or the wood is rotted, repair or replace the failed material before bonding.
Metal and Wood
Metal should be free of oil, rust, oxidation, and loose coatings. Wood and metal expand and contract at different rates as temperatures change, so a flexible adhesive can help reduce stress at the joint. Dry-fit the pieces to confirm that the adhesive will not be asked to fill an unnecessarily large gap.
Tile, Concrete, and Stone
Inspect hard surfaces for cracks, powdery residue, old mortar, and water intrusion. A clean, sound base is more important than applying more adhesive. If the surface is damp, follow the product label closely, as moisture tolerance varies by formula.
Fiberglass and Other Smooth Surfaces
Smooth materials may need light abrasion to improve mechanical grip, but only when the adhesive manufacturer permits it. Remove sanding dust afterward, and do not assume that a solvent or primer is compatible without checking the instructions.
Check the Outdoor Exposure Level
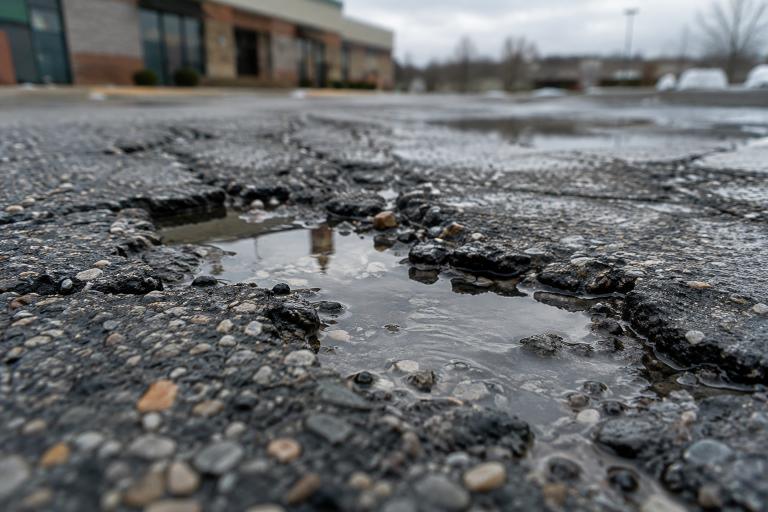
A repair beneath a covered porch faces less stress than one on an exposed patio, retaining wall, or exterior stair. Rain, humidity, ultraviolet light, repeated wet-dry cycles, heat, and freezing temperatures can all affect the joint over time. Weather also affects application: cold can slow curing, while heat can shorten the time available to position parts.
Surface Preparation Makes the Difference
Surface preparation is central to adhesive performance. Research on adhesive bonding notes that surface cleanliness and roughness are important considerations, particularly when metal surfaces have paint, rust, or oxide layers. Preparing the bonding surfaces gives the adhesive a better opportunity to contact sound material rather than contamination.
A Simple Preparation Checklist
- Remove loose paint, old adhesive, dust, grease, rust, and debris.
- Repair cracked edges, loose masonry, and weak or decayed wood.
- Lightly roughen smooth surfaces if the label allows it.
- Remove sanding dust and cleaning residue.
- Allow surfaces to dry when the product requires a dry substrate.
- Make a small test bond if the material, paint, sealer, or coating is unfamiliar.
How to Apply Construction Adhesive Correctly
- Dry-fit first. Confirm alignment, spacing, and support before opening the adhesive.
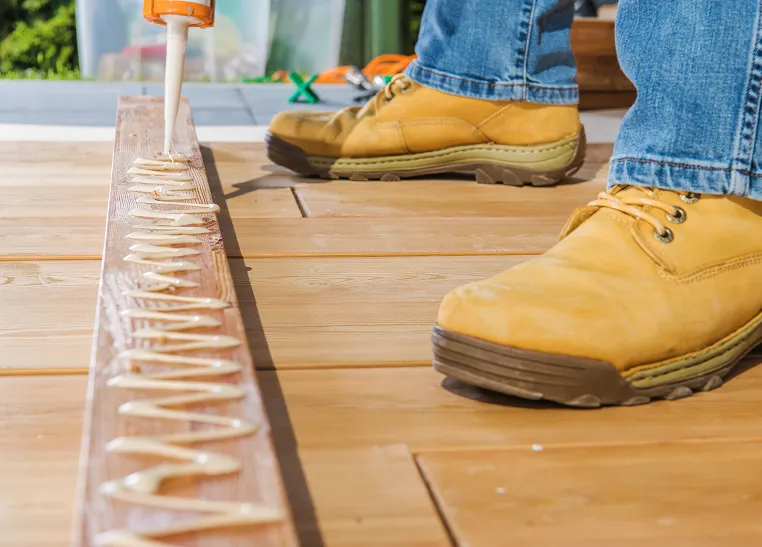
- Apply a controlled bead. Use enough material to contact the surfaces and accommodate minor irregularities.
- Press parts together firmly. Good contact matters more than an excessively thick layer.
- Clean squeeze-out promptly. Follow the product instructions for cleanup and safety.
- Support the assembly. Use clamps, tape, blocks, or temporary bracing as needed.
- Protect the repair. Keep it away from rain, traffic, vibration, and handling during the early cure period.
- Wait for full cure. A joint that feels firm on the surface may not have reached its intended strength.
When to Use Mechanical Fasteners as Well
Adhesive can improve contact, reduce movement, and support many repairs, but it does not automatically replace screws, bolts, anchors, brackets, or approved structural connectors. Use appropriate mechanical fastening and seek qualified guidance for decks, stairs, railings, overhead items, safety barriers, and other work where failure could cause injury or structural damage. Local code requirements and manufacturer instructions still apply.
Common Outdoor Adhesive Mistakes
- Applying adhesive over wet, dusty, greasy, frozen, or flaky surfaces.
- Assuming an outdoor-rated product works with every material combination.
- Using too little adhesive for an uneven surface, or so much that the joint becomes excessively thick.
- Skipping temporary support on vertical or overhead work.
- Exposing the repair to weather or weight before the recommended cure period.
- Ignoring ventilation, personal protective equipment, and other label safety directions.
How Temperature, Moisture, and Testing Affect Results
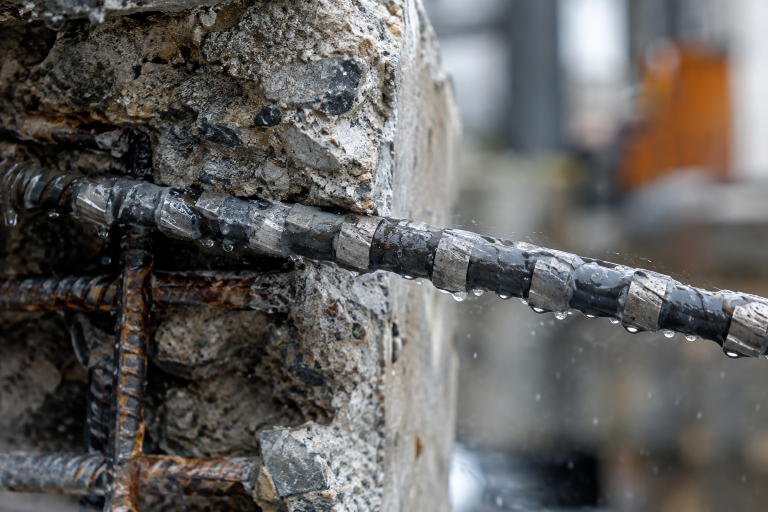
Always check the label for application temperature limits and moisture requirements. Outdoor suitability after curing does not necessarily mean the adhesive should be applied during rain or onto a saturated surface. For concrete repairs, evaluating bond strength and surface preparation helps illustrate why the condition of the underlying substrate matters as much as the repair material itself.
A small test bond is especially useful on painted metal, treated lumber, sealers, plastics, and unfamiliar coatings. After curing, inspect to determine whether the adhesive separated from the material, the coating peeled away, or the surface beneath the adhesive failed. Those signs indicate that more preparation or a different product may be needed.
Frequently Asked Questions
Can construction adhesive be used on wet surfaces?
It depends on the formula. Some products tolerate limited moisture, while others require dry surfaces. Follow the product instructions rather than assuming waterproof means suitable for application in rain.
Does more adhesive create a stronger bond?
Not always. Excess adhesive can create cleanup problems, delay curing, and reduce close surface contact.
How long should an outdoor repair stay supported?
Support time depends on the adhesive, temperature, humidity, joint size, and weight of the parts. Follow the stated cure and handling guidance.
Can adhesive replace screws or bolts?
It may supplement fasteners in suitable projects, but structural and safety-related work often needs approved mechanical fastening.
What is the best adhesive for every outdoor repair?
No single formula is ideal for every material, load, surface condition, and weather exposure. Select the product that fits the entire project.
Final Decision Checklist
- Confirm the material combination and surface condition.
- Assess weather exposure, expected load, and joint movement.
- Prepare surfaces thoroughly and dry-fit the repair.
- Follow label directions for application, support, safety, and cure time.
- Use mechanical fasteners or professional help where safety and structure are involved.
Conclusion
A dependable outdoor repair begins with planning, not simply selecting the strongest-sounding adhesive. When material compatibility, surface preparation, weather exposure, movement, support, and cure time are considered together, mixed-material repairs are more likely to perform reliably over time.