
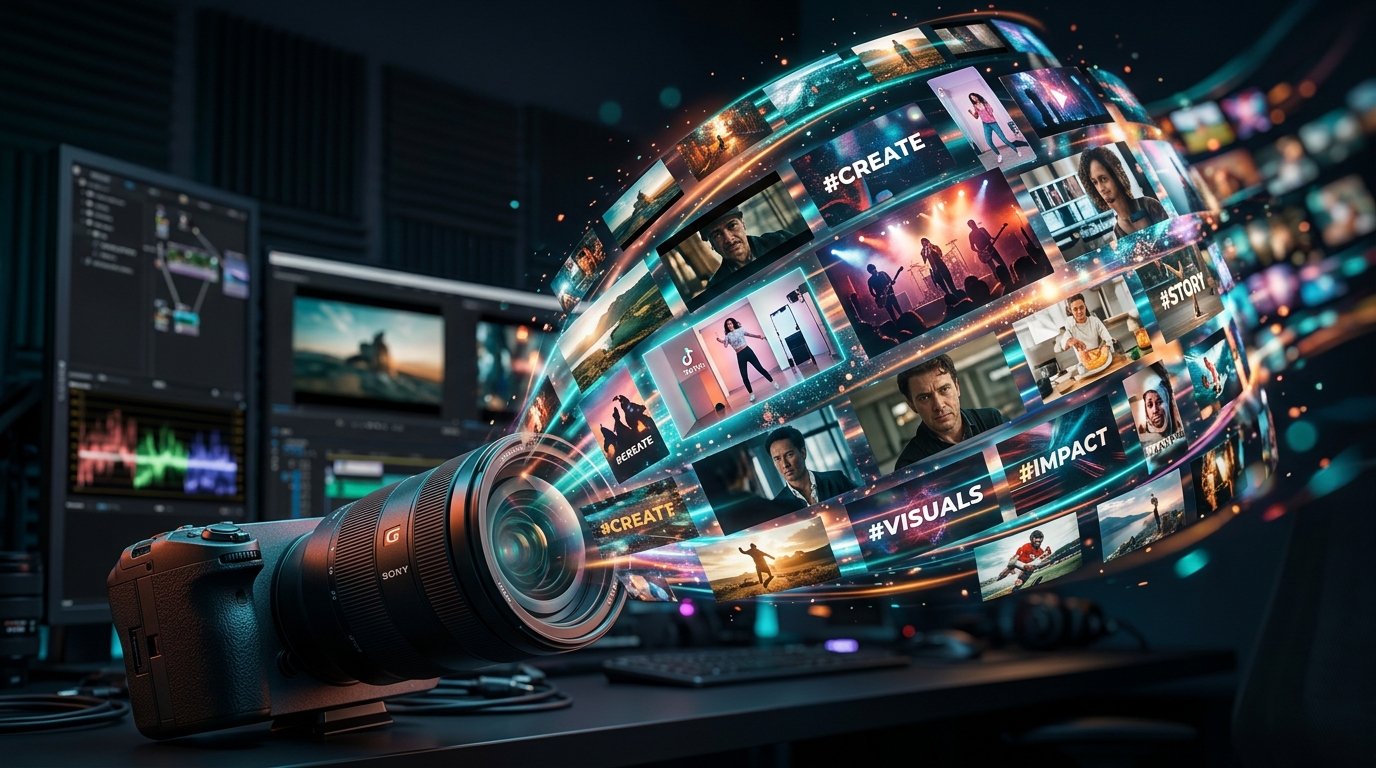
Creating high-quality videos, podcasts, livestreams, online courses, or other digital content does not always require a professional studio. A carefully planned home setup can produce excellent results when the right priorities are followed. Clear audio, reliable monitoring, suitable lighting, and a camera that matches the type of content can often matter more than buying the most expensive equipment available.
The challenge is choosing equipment that works well together. Speakers, microphones, cameras, computers, interfaces, and room acoustics all influence the final result. A balanced setup focuses first on the weakest parts of the production chain and improves them gradually rather than purchasing unrelated equipment simply because it appears impressive.
- Start With the Type of Content You Want to Create
- Build the Setup Around a Realistic Budget
- Prioritize Audio Quality Early
- Understand the Role of Monitoring Speakers
- Choose Speakers According to the Room
- Position Speakers Symmetrically
- Keep Speakers at an Appropriate Height
- Do Not Place Speakers Wherever They Fit
- Use Speaker Stands or Isolation Where Appropriate
- Control the Listening Volume
- Use Headphones as a Second Reference
- Understand Basic Microphone Types
- Research Microphones Based on Use Case
- Place the Microphone Close Enough
- Avoid Recording Too Close
- Use a Pop Filter Where Helpful
- Control Background Noise
- Improve the Room Before Blaming the Microphone
- Understand Microphone Pickup Patterns
- Set Recording Levels Carefully
- Monitor While Recording
- Understand USB and XLR Workflows
- Choose an Audio Interface Carefully
- Use Reliable Cables
- Organize Cables Around the Desk
- Choose a Camera According to the Content
- Compare Cameras Using Practical Criteria
- Do Not Buy Based Only on Megapixels
- Think About Lens Choice
- Check Autofocus Performance
- Understand Recording Limits
- Consider Clean HDMI Output
- Do Not Ignore Battery Life
- Use Memory Cards Appropriate to the Camera
- Format and Back Up Media Regularly
- Lighting Often Matters More Than a Camera Upgrade
- Start With One Good Key Light
- Use Window Light Carefully
- Avoid Mixing Too Many Light Colors
- Separate the Subject From the Background
- Keep the Background Intentional
- Frame the Shot Carefully
- Place the Camera Near Eye Level
- Check the Entire Frame Before Recording
- Record a Short Test Clip
- Check Audio and Video Synchronization
- Use Consistent Recording Settings
- Understand Frame Rates
- Control Exposure Manually When Appropriate
- Set White Balance Consistently
- Organize Files From the Beginning
- Back Up Important Projects
- Choose Editing Software According to Workflow
- Learn Basic Audio Processing
- Listen on More Than One Playback System
- Check Video on Different Screens
- Do Not Upgrade Everything at Once
- Invest in the Bottleneck
- Keep the Setup Easy to Use
- Create Repeatable Presets
- Label Important Cables and Controls
- Keep Spare Essentials
- Maintain Equipment
- Protect Camera Lenses
- Keep Microphones Dry and Protected
- Avoid Blocking Speaker Ventilation
- Learn the Equipment You Already Own
- Practice Before Important Recordings
- Prepare a Recording Checklist
- Check Storage Space Before Starting
- Silence Notifications
- Build Quality Through Consistency
Start With the Type of Content You Want to Create
Equipment needs depend heavily on the project. A podcast, music recording, livestream, interview, product video, and online lecture all require different priorities.
Before buying anything, define whether audio quality, video quality, portability, live monitoring, or ease of setup matters most.
Build the Setup Around a Realistic Budget
Technology purchases can become expensive quickly when every component is treated as equally important.
Set a complete budget and divide it according to actual production needs rather than spending most of the money on one flagship device while neglecting essential accessories.
Prioritize Audio Quality Early
Viewers may tolerate video that is slightly less polished, but unclear, distorted, noisy, or inconsistent audio can make content difficult to follow.
For spoken content in particular, microphone placement, room noise, and recording levels can have a major influence on perceived quality.
Understand the Role of Monitoring Speakers
Speakers allow creators to review recordings, edits, music, and dialogue in a more natural listening environment than headphones alone.
People comparing different speaker types and home-audio options may encounter specialist resources such as 10 Speakers. Speaker research can help narrow the choices, but creators should still consider room size, listening distance, connectivity, placement, and the type of audio they plan to produce.
Choose Speakers According to the Room
A very powerful speaker system is not automatically the best option for a small room.
Speaker size, listening distance, wall placement, and room acoustics can influence how accurately the system performs.
Position Speakers Symmetrically
Uneven speaker placement can make stereo balance difficult to judge.
Where practical, place left and right speakers at similar distances from the listening position and surrounding boundaries.
Keep Speakers at an Appropriate Height
For desktop or studio-style monitoring, the tweeters are often positioned near ear level when the user is seated.
The exact setup depends on the speaker design, so manufacturer recommendations should also be considered.
Do Not Place Speakers Wherever They Fit
Putting speakers into corners or directly against certain surfaces may exaggerate particular frequencies depending on the room and design.
Experiment with placement before assuming an equipment upgrade is necessary.
Use Speaker Stands or Isolation Where Appropriate
Desktop vibration can influence the listening experience and create unnecessary resonance.
Suitable stands or isolation products may help depending on the speaker and furniture arrangement.
Control the Listening Volume
Editing at extremely high volume can become tiring and may make it harder to judge balance accurately.
Use a comfortable monitoring level and take regular breaks during long editing sessions.
Use Headphones as a Second Reference
Speakers and headphones reveal different details.
Headphones can make subtle background noise or editing mistakes easier to hear, while speakers provide a better sense of how sound behaves in a room.
Understand Basic Microphone Types
Different microphones are designed for different tasks. Dynamic, condenser, lavalier, shotgun, and USB microphones each have advantages depending on recording conditions.
The best microphone is the one that fits the voice, room, workflow, and intended use rather than the model with the most impressive specifications.
Research Microphones Based on Use Case
Podcasters, vocalists, streamers, interviewers, and filmmakers may all require very different microphone setups.
Creators comparing options may encounter specialist resources such as Microphone Authority. Microphone guides can provide useful starting points, but buyers should evaluate pickup pattern, sensitivity, connection type, required accessories, and room conditions before choosing a model.
Place the Microphone Close Enough
Microphone placement often matters more than purchasing a more expensive microphone.
For spoken recordings, reducing unnecessary distance can improve vocal clarity and reduce how much room sound enters the recording.
Avoid Recording Too Close
Placing a microphone excessively close can create unwanted bass buildup, breath noise, or inconsistent volume as the speaker moves.
Experiment with distance and angle until the voice sounds natural and stable.
Use a Pop Filter Where Helpful
Strong bursts of air from certain consonants can create unpleasant low-frequency noises in recordings.
A pop filter can reduce these problems without requiring the speaker to move far away from the microphone.
Control Background Noise
Air conditioners, computer fans, traffic, refrigerators, and other household sounds can enter recordings even when they are not very noticeable during ordinary conversation.
Listen carefully to the room before recording and turn off unnecessary noise sources where practical.
Improve the Room Before Blaming the Microphone
A highly reflective room can create echo or reverberation that makes speech less clear.
Soft furnishings, curtains, rugs, bookshelves, and other ordinary room elements can sometimes help reduce reflections before specialized acoustic treatment is considered.
Understand Microphone Pickup Patterns
A microphone’s pickup pattern determines where it is most sensitive to sound.
Knowing whether the microphone is cardioid, omnidirectional, bidirectional, or another pattern helps with both placement and noise control.
Set Recording Levels Carefully
Recording too quietly can increase the amount of noise when the signal is amplified later, while recording too loudly can cause clipping and distortion.
Leave enough headroom for natural changes in speaking or performance volume.
Monitor While Recording
Headphone monitoring can reveal clipping, background noise, cable problems, or microphone movement before an entire recording session is completed.
A quick test recording can save significant editing time later.
Understand USB and XLR Workflows
USB microphones can provide a straightforward connection to a computer, while XLR microphones generally require an audio interface or mixer.
Neither approach is universally better. The right choice depends on simplicity, expandability, budget, and the number of inputs required.
Choose an Audio Interface Carefully
Creators using XLR microphones should consider the number of inputs, preamp quality, headphone monitoring, connectivity, and compatibility with their computer.
Buying far more inputs than necessary can increase cost without improving the actual recordings.
Use Reliable Cables
Audio problems are sometimes caused by damaged or poorly connected cables rather than the microphone or interface itself.
Inspect connections and keep a spare important cable where practical.
Organize Cables Around the Desk
Loose cables can make a small studio difficult to use and can accidentally pull equipment when someone moves.
Simple cable management makes the setup cleaner and reduces unnecessary strain on connectors.
Choose a Camera According to the Content
Camera selection should begin with the kind of videos being produced. A stationary talking-head setup has very different requirements from travel filmmaking, sports, product photography, or documentary work.
Resolution alone does not determine whether a camera is the right choice.
Compare Cameras Using Practical Criteria
Creators researching camera bodies, lenses, and accessories may encounter resources such as Best Camera World. Camera comparisons can help identify useful options, but buyers should consider autofocus, lens availability, recording limits, battery life, stabilization, connectivity, sensor performance, and overall workflow before choosing.
Do Not Buy Based Only on Megapixels
Megapixel count matters in some situations, but it is only one part of image quality.
Lens quality, sensor size, lighting, exposure, stabilization, and image processing can all have significant effects on the final result.
Think About Lens Choice
The lens influences field of view, depth of field, low-light performance, and the overall appearance of an image.
For indoor talking-head content, a lens that is too wide may distort facial features while one that is too long may require more space than the room provides.
Check Autofocus Performance
Reliable autofocus can be particularly valuable for solo creators who cannot constantly monitor focus while recording.
Consider face and eye detection as well as how consistently the camera tracks movement.
Understand Recording Limits
Some cameras may limit the length of continuous recording or generate additional heat during demanding video modes.
Creators producing long interviews or livestreams should check these practical limitations before purchasing.
Consider Clean HDMI Output
For livestreaming or external recording, a clean video output can be useful.
Check compatibility with capture devices and other hardware before building the workflow around this feature.
Do Not Ignore Battery Life
Video recording can consume batteries quickly.
For long sessions, spare batteries or appropriate continuous-power solutions can prevent interruptions.
Use Memory Cards Appropriate to the Camera
High-resolution or high-bitrate recording may require faster storage media.
Follow the camera manufacturer’s specifications rather than assuming every memory card is suitable.
Format and Back Up Media Regularly
Storage cards should not become the only copy of important recordings.
Transfer files to reliable storage and maintain backups before formatting media for the next project.
Lighting Often Matters More Than a Camera Upgrade
A modest camera in good lighting can produce a more professional image than a much more expensive camera in poor lighting.
Before upgrading the camera body, improve control over the light reaching the subject.
Start With One Good Key Light
A single well-positioned light can create a large improvement in video quality.
Place it according to the desired look and soften it appropriately when a more flattering result is needed.
Use Window Light Carefully
Natural light can be beautiful and inexpensive, but it changes throughout the day.
Creators relying on windows should consider changing weather, direct sunlight, and exposure consistency across longer recording sessions.
Avoid Mixing Too Many Light Colors
Different light sources can produce different color temperatures.
Mixed lighting may create unnatural skin tones or make color correction more difficult.
Separate the Subject From the Background
Placing the subject directly against a wall can make the image feel flat.
Where space allows, increasing the distance between the subject and background can create more visual depth.
Keep the Background Intentional
A home studio does not need an elaborate set, but everything visible in the frame contributes to the image.
Remove distracting clutter and include only objects that support the desired atmosphere.
Frame the Shot Carefully
Good composition can make ordinary equipment look significantly more professional.
Consider headroom, eye level, background balance, and the position of important objects within the frame.
Place the Camera Near Eye Level
For many talking-head videos, a camera positioned around eye level creates a natural perspective.
Very low or high angles can be used intentionally, but accidental angles may appear awkward.
Check the Entire Frame Before Recording
Small distractions such as cables, open doors, clutter, reflections, or objects appearing behind the subject’s head can reduce visual quality.
Review the complete frame before starting rather than concentrating only on the face.
Record a Short Test Clip
A quick test can reveal microphone noise, focus problems, poor framing, exposure issues, and lighting inconsistencies.
Reviewing thirty seconds before recording a long session can prevent major frustration.
Check Audio and Video Synchronization
When audio is recorded separately from the camera, synchronization becomes part of the editing workflow.
A visible and audible synchronization marker at the beginning of a take can make alignment easier.
Use Consistent Recording Settings
Changing frame rate, resolution, or audio settings between clips can complicate editing.
Choose appropriate project settings before recording and keep them consistent unless there is a clear reason to change.
Understand Frame Rates
Different frame rates can create different visual styles and are also connected to slow-motion workflows.
Choose according to the intended delivery format and project rather than automatically selecting the highest option.
Control Exposure Manually When Appropriate
Automatic exposure can change brightness during a recording when the subject moves or the background changes.
For controlled studio environments, manual settings can provide greater consistency once the creator understands the basics.
Set White Balance Consistently
Automatic white balance can shift color during long recordings.
A fixed setting may provide more stable results when lighting conditions remain constant.
Organize Files From the Beginning
Video and audio projects quickly generate many files.
Use clear folder structures and filenames so footage, audio, graphics, music, and exports are easy to locate during editing.
Back Up Important Projects
Hard drives and memory cards can fail.
Keep more than one copy of irreplaceable recordings, especially before deleting original media.
Choose Editing Software According to Workflow
The most advanced software is not always the most productive choice.
Select an editor that supports the formats and features required while remaining practical for the computer and user’s experience level.
Learn Basic Audio Processing
Simple adjustments to levels, equalization, noise reduction, and compression can improve spoken audio when used appropriately.
Heavy processing cannot fully repair a poorly recorded source, so good recording technique should remain the priority.
Listen on More Than One Playback System
An edit that sounds good on one set of speakers may feel unbalanced on headphones, phones, televisions, or other systems.
Checking important projects on several common playback devices can reveal problems before publication.
Check Video on Different Screens
Brightness, contrast, and color can vary between monitors, phones, tablets, and televisions.
Reviewing the final result on more than one device can help identify obvious inconsistencies.
Do Not Upgrade Everything at Once
Replacing speakers, microphone, camera, lighting, computer, and software simultaneously makes it difficult to understand which change actually improved the workflow.
Upgrade one weak area at a time based on a real limitation.
Invest in the Bottleneck
A premium camera will not solve terrible audio, and an expensive microphone will not eliminate severe room noise automatically.
Identify the component or environment currently limiting quality and improve that first.
Keep the Setup Easy to Use
A complicated studio can discourage consistent content creation if every recording requires an hour of preparation.
Where possible, leave frequently used equipment positioned and organized so starting a session requires minimal effort.
Create Repeatable Presets
Saved camera settings, audio templates, editing presets, and lighting positions can reduce setup time.
Consistency also makes videos and recordings feel more professional across a series.
Label Important Cables and Controls
As a setup grows, it becomes easier to forget which cable powers or connects each device.
Simple labels can save time when troubleshooting.
Keep Spare Essentials
A failed cable, battery, adapter, or memory card can stop an entire recording session.
Keeping inexpensive critical spares can be more valuable than owning another major piece of equipment.
Maintain Equipment
Cameras, microphones, speakers, stands, cables, and accessories should be stored and cleaned according to manufacturer guidance.
Regular maintenance can extend useful life and reduce unexpected failures.
Protect Camera Lenses
Dust, fingerprints, and improper cleaning can affect image quality or damage coatings.
Use suitable cleaning tools and store lenses appropriately when they are not in use.
Keep Microphones Dry and Protected
Microphones contain sensitive components and should be stored away from unnecessary moisture, impact, and dust.
Follow manufacturer guidance for storage and handling.
Avoid Blocking Speaker Ventilation
Powered speakers may generate heat and require appropriate ventilation.
Do not cover vents or place equipment where heat cannot dissipate properly.
Learn the Equipment You Already Own
Creators often buy new technology before fully understanding the capabilities of their current setup.
Learning microphone positioning, camera exposure, lighting, and editing can provide larger improvements than another purchase.
Practice Before Important Recordings
Technical familiarity reduces mistakes when a guest, client, or live audience is involved.
Practice the complete recording workflow until equipment operation becomes routine.
Prepare a Recording Checklist
A short checklist can prevent simple errors such as forgetting to press record, leaving the microphone muted, or using the wrong camera settings.
Keep the checklist focused on the steps most likely to be forgotten.
Check Storage Space Before Starting
High-quality video files can consume storage rapidly.
Confirm that memory cards and computer drives have enough free space before beginning a long session.
Silence Notifications
Phones and computers can create unwanted sounds or visual interruptions during recording.
Disable unnecessary notifications before important sessions.
Build Quality Through Consistency
A professional-looking home studio is not defined by how much equipment it contains. It is defined by how reliably the setup produces clear sound, stable images, and an efficient workflow.
By choosing speakers according to the room, selecting microphones according to recording conditions, matching cameras to actual content needs, controlling lighting, organizing files, and upgrading only when a genuine limitation appears, creators can build a home production system that improves over time without unnecessary spending.